Written by Spirekassen March 2024
Guide: Melon in the greenhouse
For most greenhouse owners, tomatoes, cucumbers, and chillies are the forever classics. They’re certainly great crops to grow, no matter what kind of greenhouse you have. But melons are a little different. They need space and lots of warmth to thrive. Over the next few months, we’ll guide you through growing melons in the greenhouse—month by month—with helpful tips and tricks to introduce you to a new summer favourite.
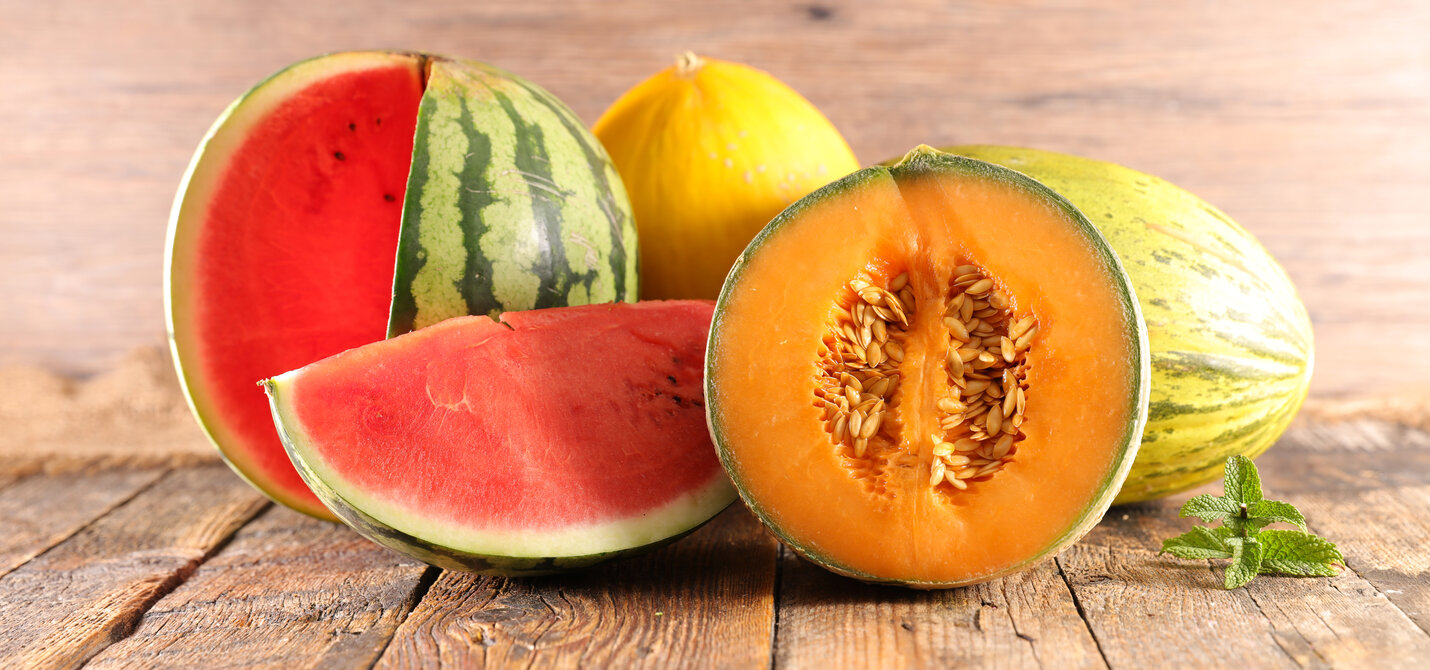
March
Spring has officially arrived, and many of us have already begun pre-sowing tomatoes and chillies. But when it comes to melons, here’s the first and possibly most important tip: Wait another 4 weeks before you start sowing.
In March, it’s more important to plan ahead than to sow too soon. A strong start lays the foundation for a successful summer harvest.
Top tip:
- Wait until April to begin sowing.
Do you have enough space?
Melons need room to grow. Unlike tomatoes, which come in dwarf or compact varieties, all types of melons take up a lot of space. If your greenhouse is 6 m² or smaller, we don’t recommend growing melons. As a minimum, 10 m² or more is ideal to enjoy melon cultivation properly.
Melons grow similarly to cucumbers: fast, vigorous, and sprawling. You can grow them horizontally, letting them crawl along the floor, or vertically, training them up a support. Horizontal growing takes up more space but requires less effort. Vertical growing saves space but demands time and care to tie both stems and fruits.
Whichever you choose, stick to one plant per 8–10 m². More than that may cause humidity issues in summer.
Top tips:
- Match the amount of plants to your greenhouse size.
- For best use of space, choose vertical growing.
- Horizontal growing requires less effort.
Which variety should you grow?
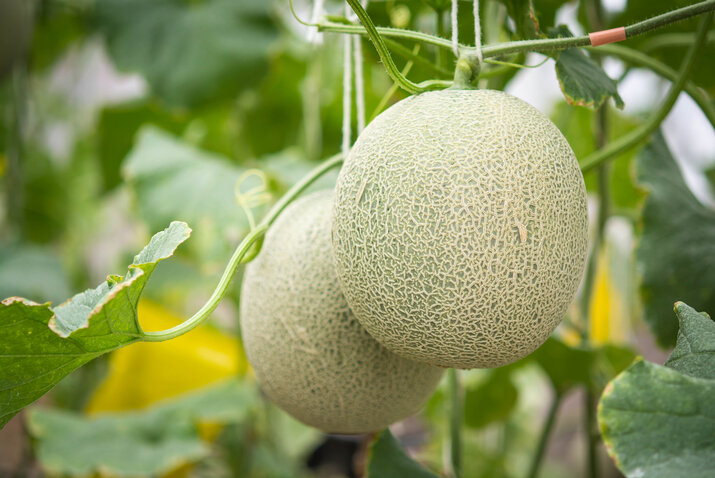
The art of limitation can be difficult, especially when you want to try all kinds of different things in your greenhouse. The melon family is large and diverse. Melon, Cucumis melo, is part of the Cucurbitaceae family—alongside squash, cucumbers, pumpkins, and watermelons. In this article, we'll discuss all types of melons and watermelon together.
Before you choose based on taste alone, think carefully. Melons originate from warmer regions such as Persia and Africa, and their natural growth cycle doesn’t align well with the Northern European climate. Because we have shorter, cooler summers in the UK, choose varieties with a short growth period and those adapted to your local climate. Check the seed packet for development time.
Melon seeds collected from a sweet melon enjoyed on a holiday in Southern Europe probably won’t do well at home. The melon type is adapted to the climate where it is grown, and this may mean that by the end of summer in your greenhouse, the fruit is far from ripe. At Spirekassen, our experience is that Charentais melon ripens well as the summer turns to autumn. On the other hand, watermelon “Sugar Baby” can have difficulty ripening before summer turns to autumn. There may be local differences from country to country and variety to variety.
Top tips:
- Buy seeds locally.
- Choose varieties with a short growth time.
April
April tempts us with spring sunshine and plenty of warm hours in the greenhouse. You might feel like you're behind if you didn’t get any pre-sowing done over Easter—but don’t worry, you’re right on time when it comes to melons. In fact, melons are among the last plants you should pre-sow on a windowsill in April. A general rule is to sow 3 to 4 weeks before transplanting into the greenhouse. Once the seed has germinated, the melon plant grows rapidly—within a few weeks, it will be taking over your windowsill. That’s why you should hold off pre-sowing until the plant can be moved outside soon after germination.
Getting ready for pre-germination – Equipment and More
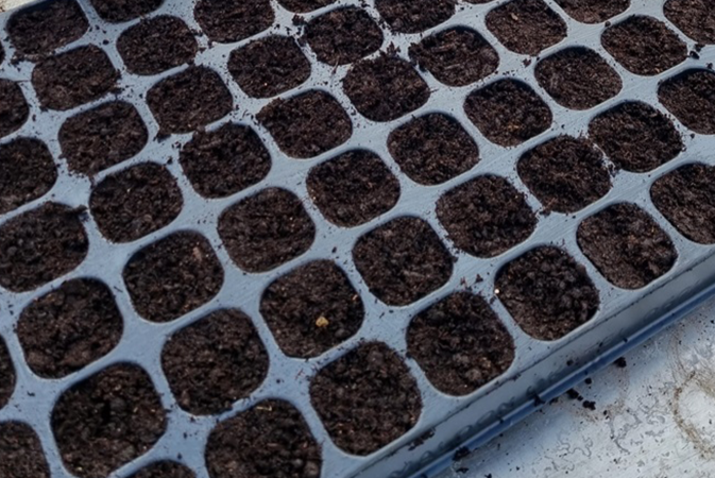
You can spend a lot of money on equipment—but it really isn’t necessary. The smarter solution is to choose the right tools from the start and reuse them year after year. Choose your sowing setup based on just a few, but important, factors:
- What type of seed are you sowing?
- What time of year are you sowing?
- Does the species grow quickly or slowly?
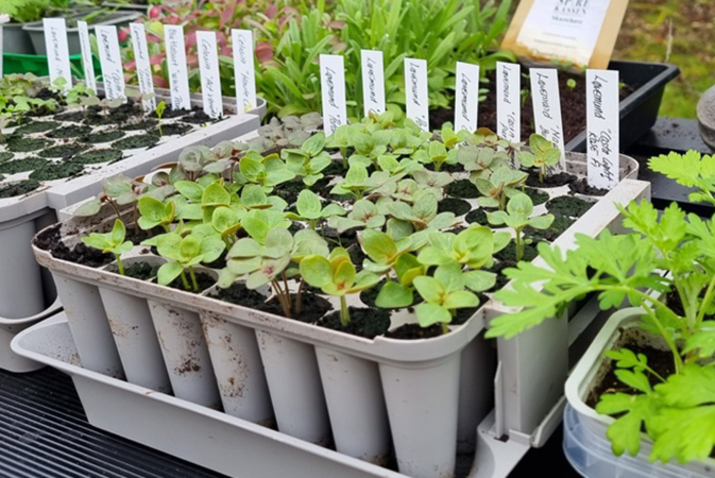
Melon seeds are quite large and germinate quickly under the right conditions—often within just 7 days.
Climate conditions during germination
Cover your seed tray with a plastic lid, plastic bag or fleece. Ideally, place the tray in an east- or west-facing window. The optimal germination temperature is between 22–25°C. Once the first pair of seed leaves has emerged, remove the cover so the young seedlings can adapt to the real world. The small plants need as much natural light as possible.
If they get too much heat combined with too little light, the plants will become leggy and weak, making them prone to snapping or toppling over. Reduce the temperature slightly once the first true leaves appear, as windowsills can get quite warm in April.
Many gardeners use artificial grow lights during pre-sowing. But with melons, if you're starting in April, you won’t need them. By then, natural light is strong enough—and grow lights would be a waste of money. Soon the plants will be ready to visit the greenhouse anyway.
Top tips:
- Give your seedlings as much natural light as possible.
- Skip artificial grow lights if you're start pre-germination in April.
May
The young plant
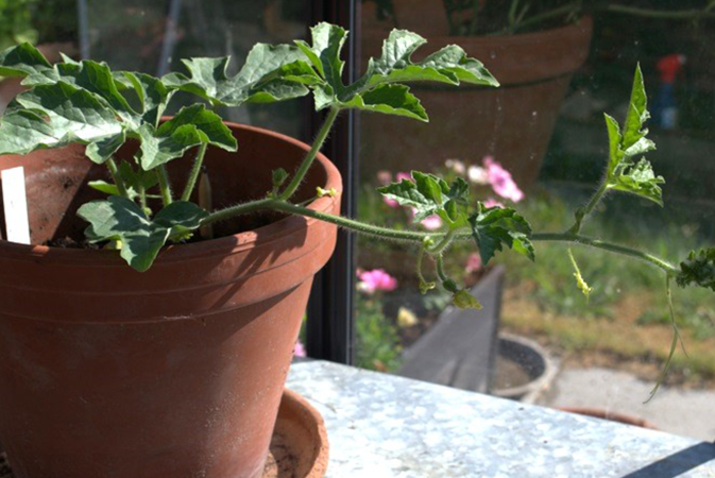
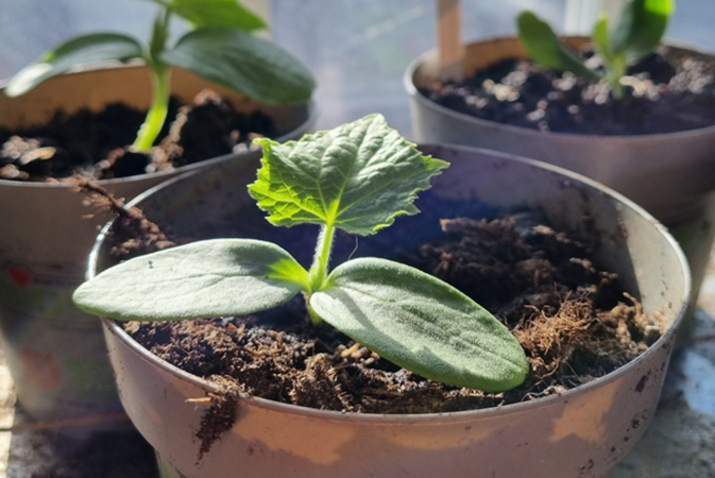
When your plant is 3 to 4 weeks old, it’s time to begin adding liquid fertiliser to the watering routine. Many believe you need to fertilise right from the start—but that’s not the case. Each seed contains a small reserve of energy called the endosperm, which provides enough carbohydrates, proteins, and fats to feed the seedling in its first weeks of life. Fertiliser should be added 3 to 4 weeks after germination. By then, the plant will typically have 1 to 2 sets of “true leaves.” Start by adding fertiliser 1–2 times a week via your watering.
Repotting
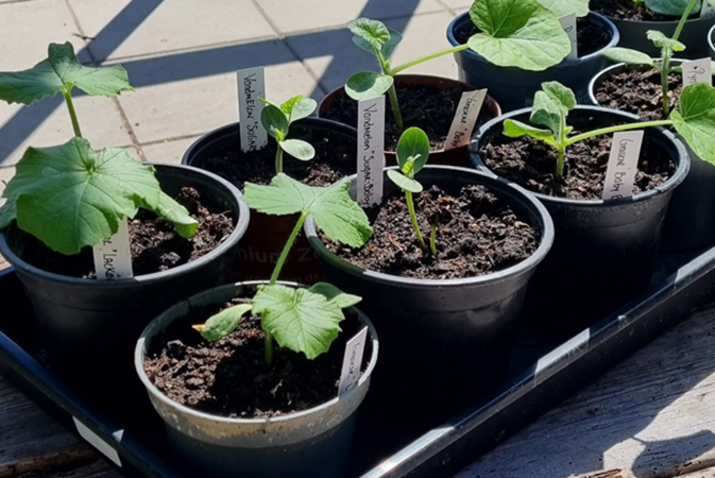
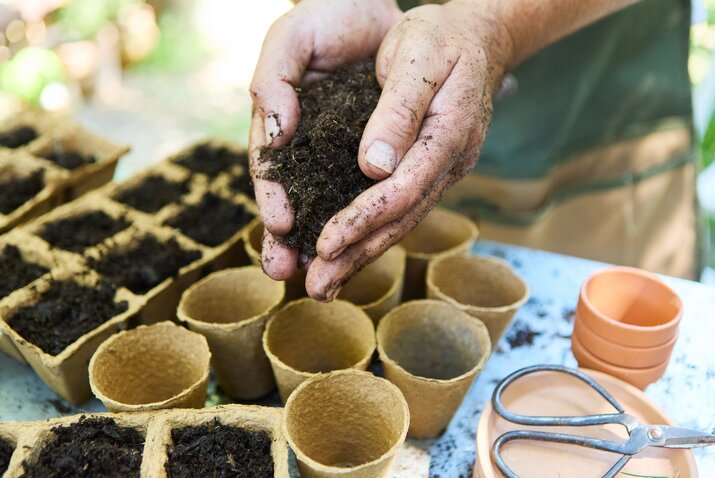
If you didn’t sow your seeds in large pots from the beginning and used seed trays instead, now is the time to repot your melon seedlings. Melons are delicate and not as robust as tomato seedlings. The root collar is particularly sensitive. This is the area where the stem transitions into the root. When repotting, make sure the root collar stays above the soil surface and is not covered with soil. Some gardeners continue to use seed and prickly soil for this stage, while others switch to potting soil. Potting soil contains more nutrients, so you won’t need to fertilise for a few weeks after repotting.
Once the plant is 3 to 4 weeks old, it will need support from a planting stick.
Top tips:
- Time for more space – time for repotting.
- Don’t bury the root collar in soil.
- Support your plant with a planting stick.
Trip to the greenhouse
On a warm May day, it may be tempting to plant out your melon seedlings in the greenhouse straight away. But try to resist. Two things need to be in place first:
- The ideal greenhouse climate
- Proper hardening off
Young melon plants must be gradually introduced to the conditions in the greenhouse. Start by placing them inside the greenhouse for just 2 to 3 warm hours. Be sure to avoid direct sunlight—choose the shadiest spot available. If exposed to full sun too soon, your plants risk getting scorched, just like our skin can burn.
The next day, increase the time slightly, and continue this process daily. After about a week and a half, your plants will be ready for permanent relocation.
However, it's essential to measure the night-time temperature inside your greenhouse. It should never drop below 15°C. Small melon plants are extremely vulnerable to the cold.
Top tips:
- Gradual adjustment to greenhouse climate is essential.
- Keep temperatures at a minimum of 15°C, day and night.
June
If you’ve been patient and waited until the beginning of June to plant your melons in the greenhouse, you’re on the safe side. While some plant out in May, these early attempts often fail—usually due to stem rot at the base of the plant. June is the month for establishing strong root systems in their final growing space. After this, growth tends to take off rapidly.
Planting in the greenhouse
You may already know that tomatoes can be planted deep into the soil without issues. With melons, it’s the opposite. Melons are more sensitive to soil-borne fungal diseases. Never plant your melon so deep that soil covers the stem or root collar (the point where the stem meets the roots). Choose the warmest, sunniest spot in your greenhouse. That’s where melons will thrive best.
We all want as many fruits as possible from our melon plants—and here are a few tricks worth knowing. Surprisingly, the key is not to be too kind to your plant. Avoid growing your melon in self-watering containers. If the plant has easy, constant access to water and nutrients, it will focus all its energy on growing foliage rather than producing flowers. This is known as staying in the vegetative stage.
Instead, your goal should be to encourage the generative stage—where the plant produces flowers, fruits and seeds. You can help this along by slightly stressing the plant. For example, allow short periods of dryness between waterings. Another trick is to reduce fertiliser slightly.
If you still choose to grow in self-watering containers or pots, expect fewer fruits—maybe 3 to 4 per plant. The best results come from growing directly in a garden bed, where you can get up to 10 fruits per plant.
Temperature in the greenhouse
Although melons thrive best between 28–35°C, they don’t tolerate temperatures above 40°C for long periods. Most fruit is formed when the temperature is between 18.3–23.9°C during the day, and not below 15.6°C at night. These conditions also help attract pollinators like bees.
Top tips:
- Don’t plant too deep—keep the root collar free of soil.
- Choose the warmest, sunniest spot in the greenhouse.
- Avoid self-watering containers for the best results.
- Allow short dry periods between watering to encourage flowering.
July
Melon care
How you care for your melons depends on your growing method. If you’re growing them vertically, with the plants trained upwards on a support, it’s a good idea to remove side shoots—just like you would with tomatoes. When the fruits start to develop, you should also tie each fruit to support it, as they’ll become quite heavy. If you’re growing melons horizontally, side shoots are harder to identify. In that case, you can lightly prune the plant every 14 days throughout the season. The goal is to improve airflow and give the fruits better access to light.
Water and nutrients
Melons love water. They are very sensitive to water stress and will lose turgor quickly if they go dry. That said, controlled stress can be helpful: allowing the soil to dry slightly between waterings can actually encourage the plant to produce more fruit.
If you’re using self-watering containers, follow the dosage instructions for fertiliser on the label. Use tap water rather than rainwater in these systems.
If you’re growing in a garden bed, slow-release granular fertiliser is best. Apply it 2–3 times during the growing season, depending on your soil.
Top tips:
- Remove side shoots where possible if growing vertically.
- Avoid self-watering containers if you want more fruit.
- Use granular fertiliser for soil-grown plants.
- Don’t over-fertilise—less is more when it comes to fruit production.
August
Pollination
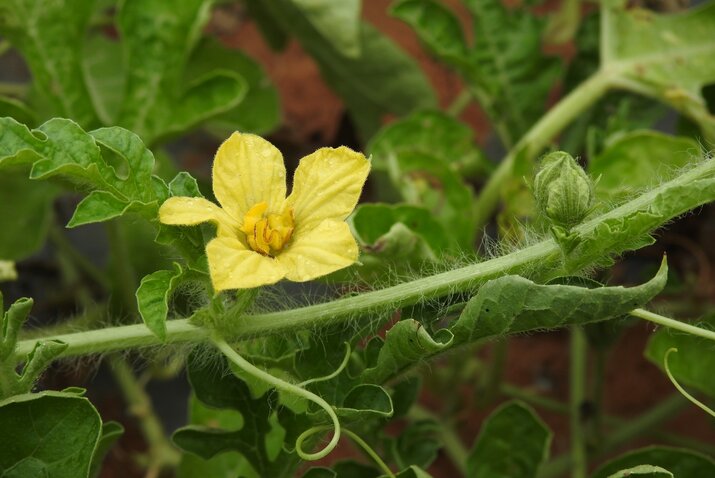
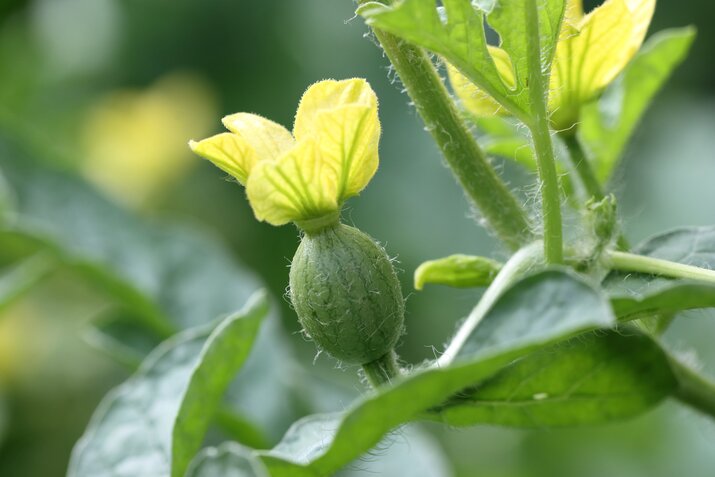
While cucumbers have largely been bred to avoid pollination issues, melons still rely on it. A melon plant produces male, female, and sometimes bisexual flowers. For fruit to form, the female flowers must be pollinated with pollen from male flowers. You can tell when a female flower has been successfully pollinated by the small swelling (the beginning of a fruit) just below the bloom. If you want to lend a helping hand, you can act as a bee by using a small brush to transfer pollen manually—but in most cases, it’s not necessary. Keep windows and doors open throughout the summer to allow pollinators in. You can also encourage bees by sowing nectar-rich flowers inside the greenhouse. Try Phacelia tanacetifolia (lacy phacelia) or Lathyrus odoratus (sweet pea). Melon flowers don’t produce nectar, but they do offer pollen, which is a valuable source of protein for bees—especially bumblebees, honeybees, and solitary native species.
How do you know when a melon is ripe?
There’s nothing quite like the taste of a sun-ripened melon. The flavour depends on a balance of acids, sugars, and aromatic compounds. A ripe melon is about 90% water, 9% sugar and 1% protein. You’ll know it’s ripe when the fruit detaches easily from the plant with a gentle tug. If you need to use force, it’s not ready. Another good indicator is scent—if you’re greeted by a sweet, strong melon aroma, it’s nearly there.
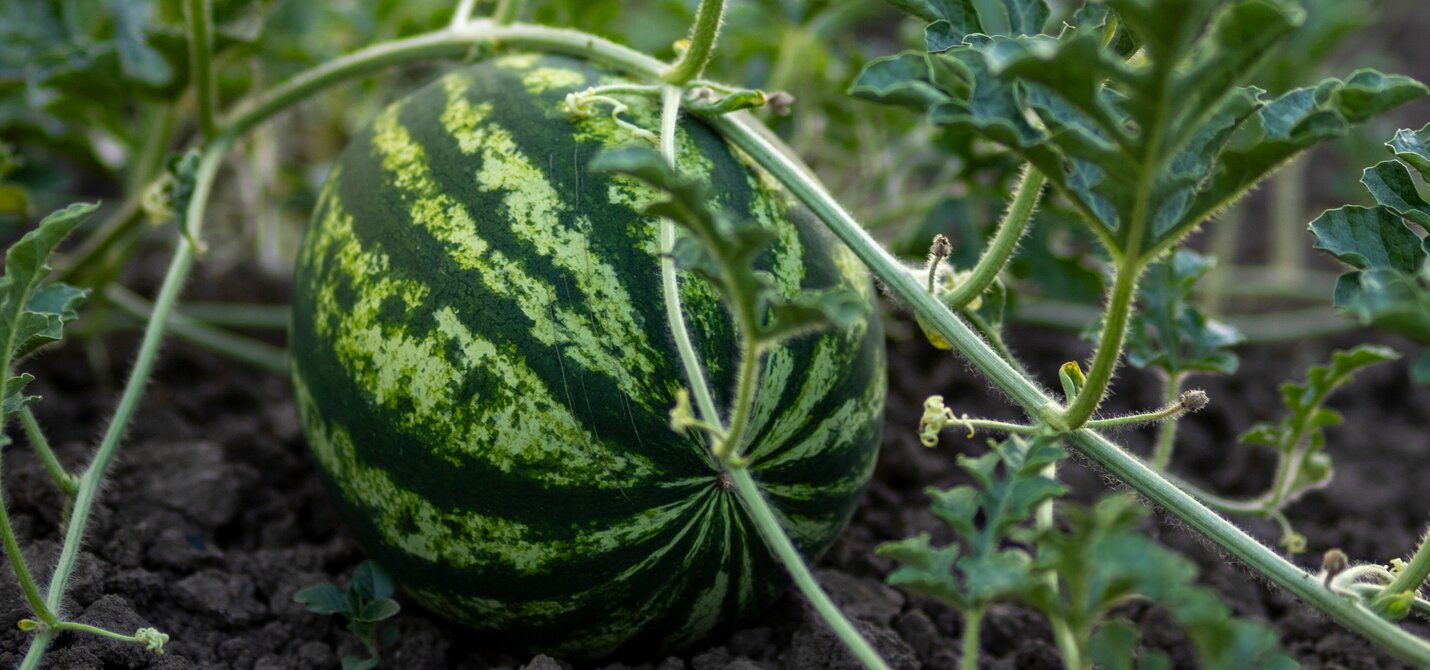
Net melons and Charentais varieties often turn slightly golden when ripe. With watermelons, the signs are a bit trickier. Look for a white or yellow patch on the bottom where the melon has rested on the soil. Also, give it a knock—it should sound hollow when ripe.
For all melon types, the fruit should feel heavy when lifted—that's another sign it’s full and ripe.
Top tips:
- Keep greenhouse doors and windows open to welcome bees.
- Attract pollinators with flowering plants inside the greenhouse.
- A ripe melon detaches easily from the vine.
- Ripe fruits feel heavy and smell sweet.
September
September marks the first official month of autumn. Even if it doesn’t feel like it yet, your greenhouse plants can already sense the shift. With fewer daylight hours, the season is beginning to wind down—and like it or not, we’re heading for winter.
The plant's life cycle
Melons are annual plants. As the name suggests, that means their life cycle is completed within a single year. In one growing season, the melon plant will sprout, grow, flower, fruit, produce seeds—and then die. It won’t return the following year, but the seeds it leaves behind can grow into new plants.
By September, you may notice your melon plants beginning to decline. The leaves may look tired or begin to wilt. It might seem like a lack of water, but it’s not. The plant is simply reaching the end of its natural life cycle.
This is completely normal—you haven’t done anything wrong. Most importantly, you’ve likely got a wonderful harvest of ripe melons to enjoy through the early autumn.
The end of the cycle
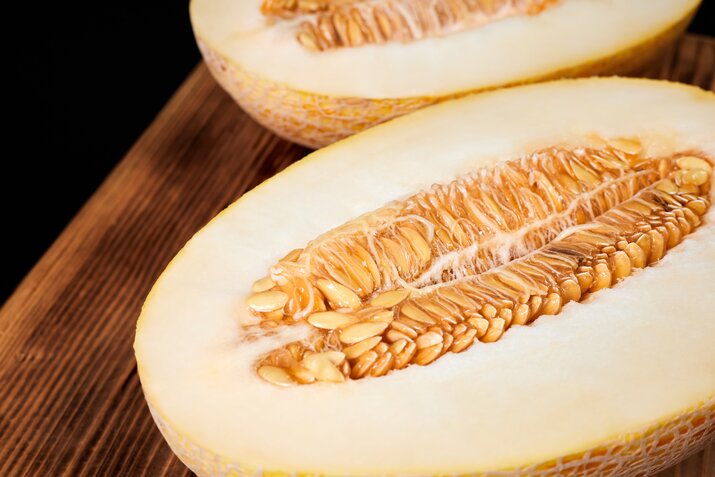
As the season draws to a close, many gardeners wonder if they can save seeds from their homegrown melons. The short answer is yes—but only if the variety isn’t a hybrid (F1).
Seed producers often develop new hybrids to improve traits like disease resistance, flavour, skin thickness or colour. These are known as F1 hybrids, created by inbreeding two distinct parent plants over generations and then crossing them to produce a first-generation plant with ideal characteristics. However, the unique qualities of an F1 plant don’t carry over to its offspring. If you save seeds from an F1 melon, the next generation will usually have weaker, less desirable traits—like those of the original, inbred parent lines. So, before saving seeds, check the packet to see if your melon is marked as “F1.” Only open-pollinated (non-F1) varieties are reliable for seed saving.
Top tips:
- Keep your old seed packets—they contain valuable info like whether the variety is F1.
- Store your saved seeds in a cool, dry place with stable temperatures.
- Enjoy your melon harvest—and look forward to next year’s greenhouse adventures!
(*)The root collar is the place on a plant that forms the transition between the stem and the roots. The root collar is in an exposed position because the humidity constantly fluctuates around it, which makes fungal attack possible.
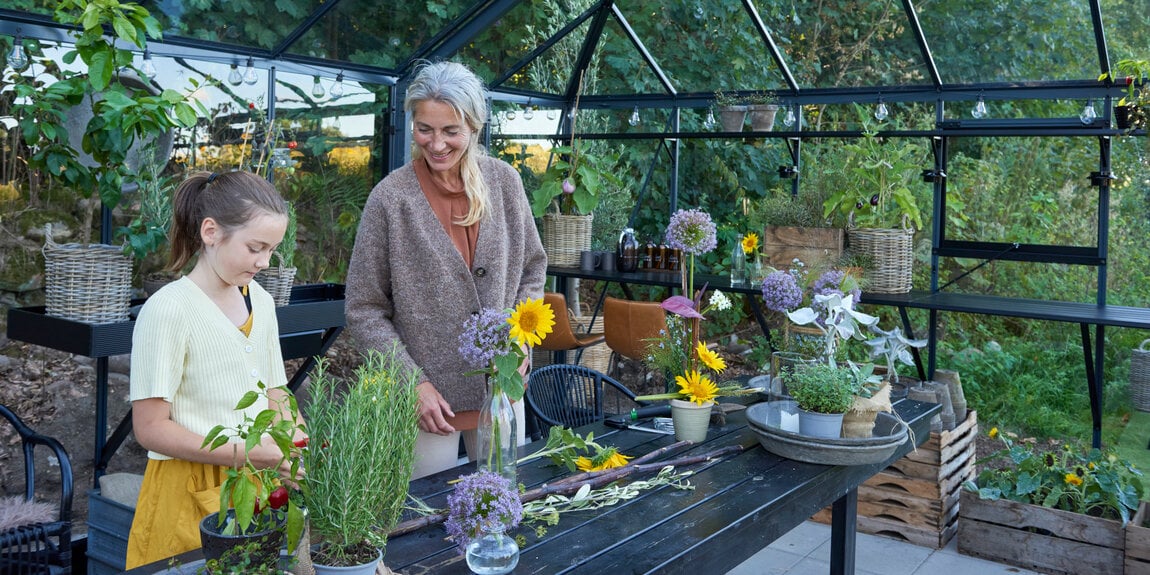
Transform Your Greenhouse Life
Are you looking for fresh inspiration to transform your greenhouse life into a lush paradise? Let's explore new ideas and tips together that will make your green haven even more magical!
JULIANA GROUP
Juliana Group is a leading global supplier of quality residential greenhouses. Founded in 1963 by Mogens A. Stærmose in Odense, Denmark, the family-owned company is today run by third generation, Nikolaj Stærmose. Headquarter and production remains Odense-based with subsidiaries in the UK and Germany and export to more than 20 countries.
’We help people grow’. That is why our brands Halls and Juliana set the frame for experiences that are as natural as they are magical. Despite our long history, we’re future-focused and curious on how we can improve the sustainability of our greenhouses. Learn more about Juliana and find inspiration for life in the greenhouse in our inspirational universe.


