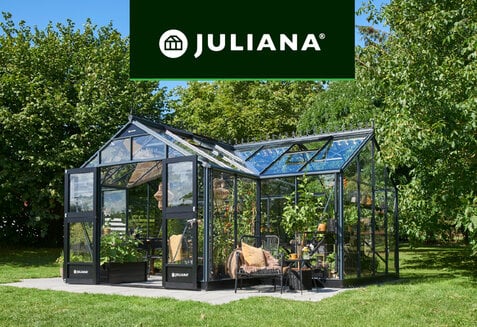
Glazing with Polycarbonate
In addition to the guide below, you can also watch our assembly videos – find them here.
Important Before You Start
Glazing with polycarbonate is quick and easy. The polycarbonate sheets are full-length and are attached with plastic beading.
The assembly instructions show you where to attach the sheets and beading. You will need acetone, sandpaper, a small saw, a trimming knife and/or heavy-duty shears to install the polycarbonate.
Start by glazing the roof, then the side sections and finally the end sections.
Step 1
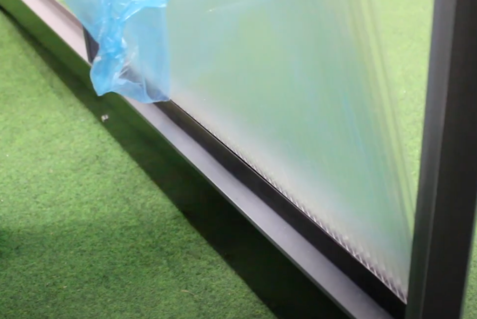
Check the Polycarbonate Sheets
The polycarbonate sheets are UV-protected on one side only. That side is labelled.
It is important to correctly install the polycarbonate sheets, because otherwise they will yellow and become brittle after a few years.
Step 2
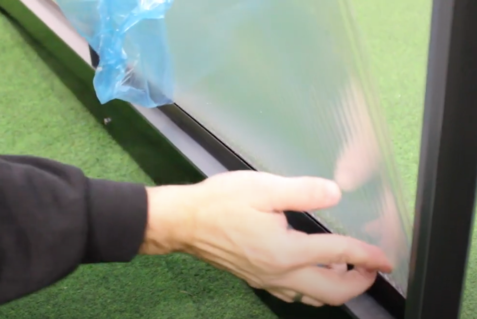
Remove the Protective Film
The polycarbonate sheets are delivered with a protective film. Remove this film before attaching them to the greenhouse. Leave the label that marks the side of the polycarbonate sheet that should face outwards.
Step 3
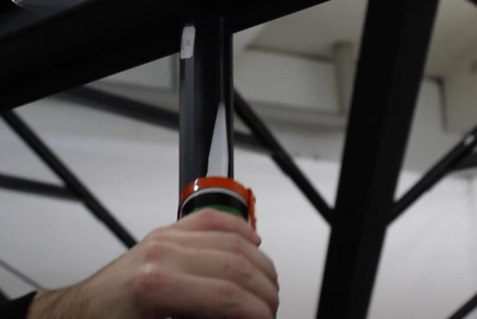
Apply silicone
A 3 mm thick silicone strip is pressed onto the side profiles.
Step 4
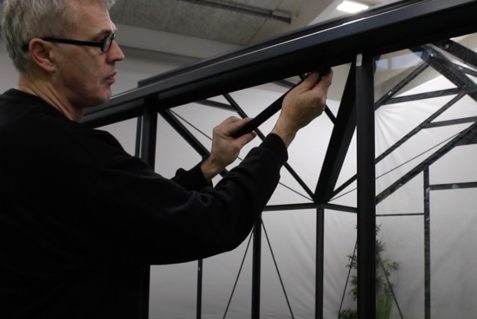
Attach the Finish Beading
Attach the finish beading to the top of each section. Press the “thick” part of the beading over the top of the profile.
The beading may need to be adjusted, particularly in the end sections.
Step 5
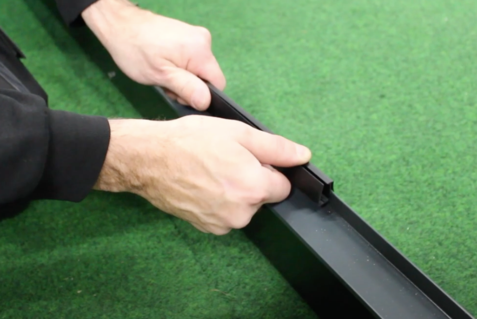
Attach Beading to the Bottom Edge
Also attach finish beading to the bottom edge of the sections.

Step 6
Insert the Polycarbonate Sheet
Install each polycarbonate sheet by first pressing it down into the bottommost finish beading.
REMEMBER: Make sure the correct side of the polycarbonate sheet is facing outwards. This side will be labelled.
Step 7
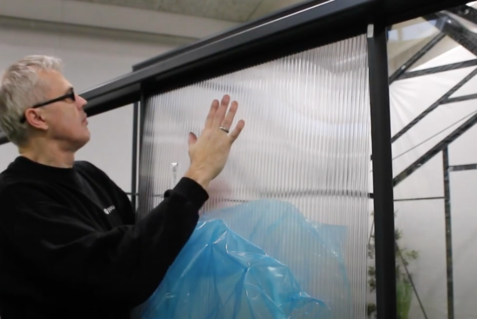
Press the Polycarbonate Sheet in Place
Then press the polycarbonate sheet into the top finish beading.
REMEMBER: Make sure the correct side of the polycarbonate sheet is facing outwards. This side will be labelled.
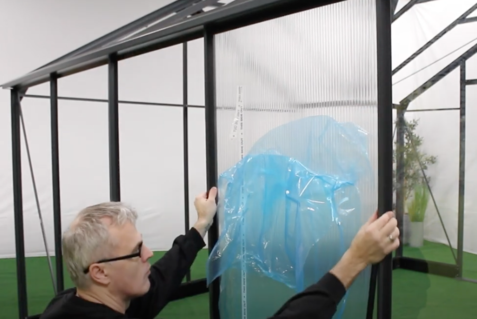
Step 8
Click the Finish Beading in Place
Then press the finish beading firmly in place on the sides.
Start from the bottom and press them firmly upwards. Press until you hear a “click”, which means they are firmly attached.
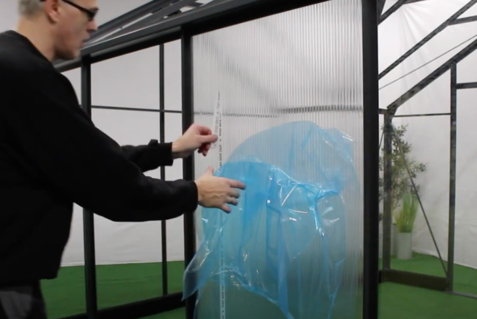
Step 9
Remove the Label
After the polycarbonate sheets and all beading are attached, remove the label indicating which side of the polycarbonate sheet should face outwards. The polycarbonate sheets have now been installed.
Transform Your Greenhouse Life
Are you looking for fresh inspiration to transform your greenhouse life into a lush paradise? Let's explore new ideas and tips together that will make your green haven even more magical!
JULIANA GROUP
Juliana Group is a leading global supplier of quality residential greenhouses. Founded in 1963 by Mogens A. Stærmose in Odense, Denmark, the family-owned company is today run by third generation, Nikolaj Stærmose. Headquarter and production remains Odense-based with subsidiaries in the UK and Germany and export to more than 20 countries.
’We help people grow’. That is why our brands Halls and Juliana set the frame for experiences that are as natural as they are magical. Despite our long history, we’re future-focused and curious on how we can improve the sustainability of our greenhouses. Learn more about Juliana and find inspiration for life in the greenhouse in our inspirational universe.


