Greenhouse Assembly
A greenhouse is a 'do it youself' project. On this page you will find our best tips and advice on how to assembly your greeenhouse.
Which Assembly Option Should I Choose?
You can order assembly of your greenhouse with or without foundation assembly. Some people prefer to place and assemble the foundation themselves, while others construct a custom foundation solution. Therefore, assembly of the foundation and the greenhouse is priced separately.
If you have purchased greenhouse accessories along with the greenhouse, it is possible to add assembly for the accessories.
Most greenhouses do not require a building permit. The rule is that you must not have buildings in your garden that together exceed an area of 50m², and an individual structure must not exceed 30m². All our greenhouses fall within these limits. Additionally, heights above 2.5m must be maintained, with a minimum distance of 2.5m from property lines and other buildings.
So, if you want to exceed these rules, you need to apply to your local municipality. However, please note that many allotment associations and homeowner associations may have specific rules about what can be placed in the garden. To be on the safe side, we recommend contacting your local municipality.
What Do You Need to Prepare Before Assembly?
We recommend contacting your insurance company to ensure that you are adequately covered.
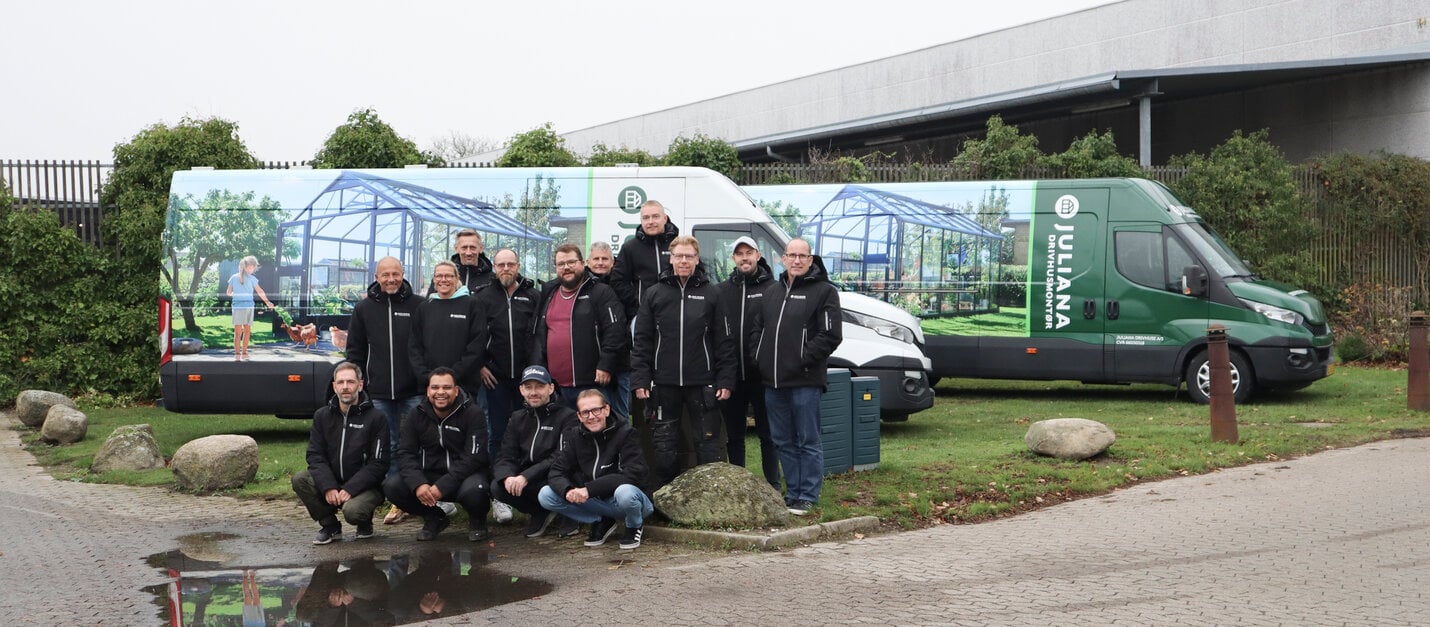
When the certified Juliana fitters arrive, the area must be flat, level, and accessible. Assembly requires that the area for the greenhouse's placement is planned and prepared.
Around the greenhouse placement, there should be 60 cm on all sides to provide the assemblers with workspace and room for a ladder. This means the greenhouse cannot be placed closer than 60 cm to buildings, fences, or similar structures.
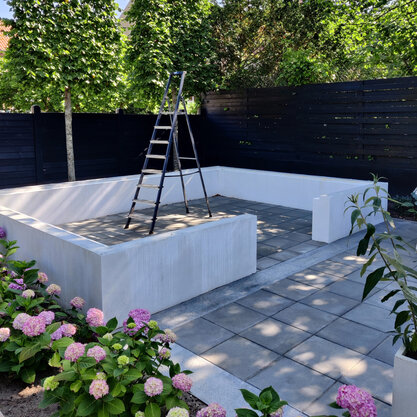
The surface must be level and without drainage slopes where the greenhouse will be placed. The foundation for a greenhouse must be square and level.
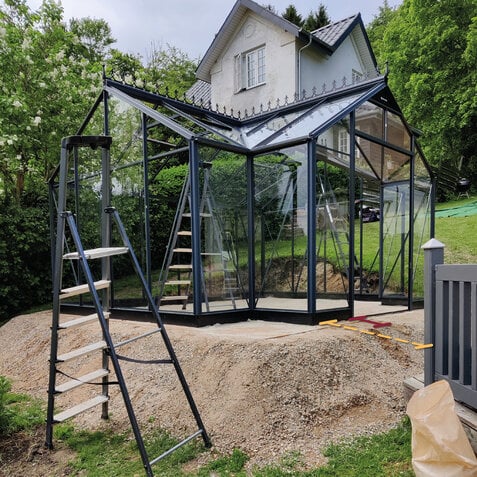
The area is not properly prepared for assembly; the required 60 cm of workspace is not available.
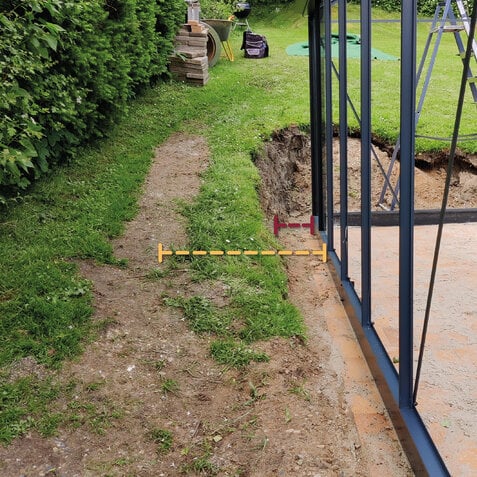
The area is not properly prepared for assembly; the required 60 cm of workspace is not available.
If You're Assembling the Foundation Yourself
It's crucial to ensure that the foundation is level, that the cross measurements are equal, and that the measurements in the assembly guide are followed precisely. Otherwise, the greenhouse won't be able to be assembled because the profiles won't fit, and the glass won't be insertable.
Purchase assembly for both foundation and greenhouse
The greenhouse can be placed on:
- Grass
- Tiles
- Brick
- Wall, leaning against a wall
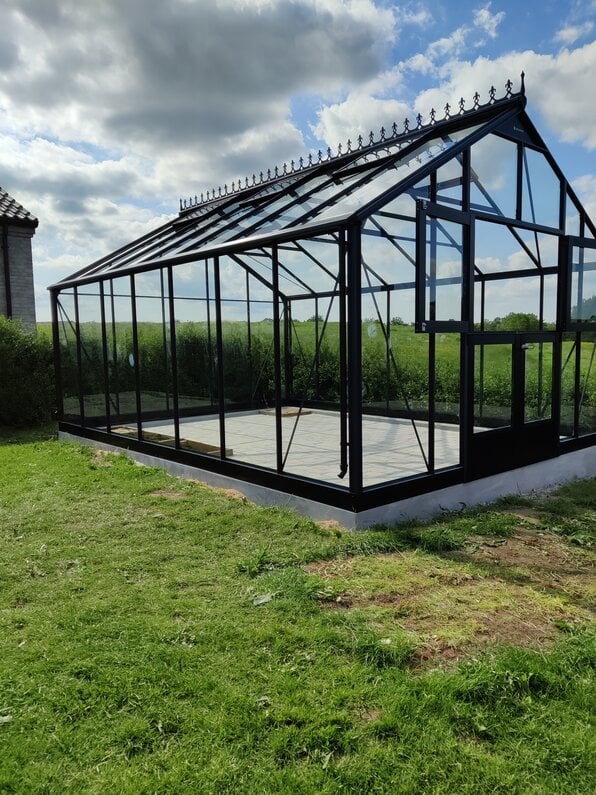
Greenhouse Assembly on Grass
If you want the greenhouse placed on a lawn, either because you want to grow directly in the ground or because you plan to install paving around and inside the greenhouse, ensure that the lawn is level.
If you plan to lay tiles after assembly and have excavated for this purpose, it's essential that the foundation can be placed at the same level as the rest of the substrate.
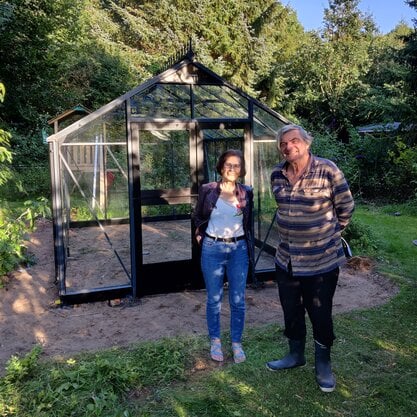
Placement directly on soil, prepared for subsequent installation of paving.
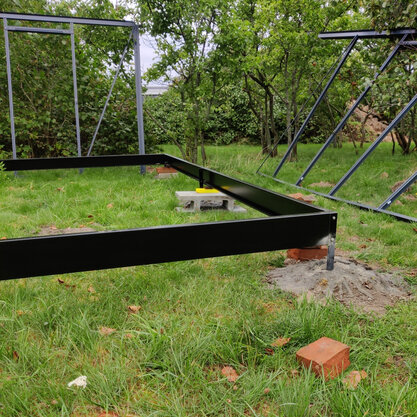
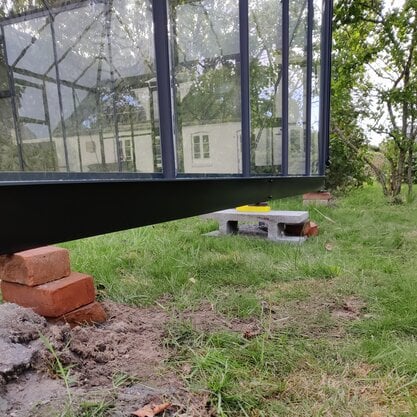
The area should be level; if it's not, the greenhouse will 'hover' above the ground. The foundation for a greenhouse must be square and level.
Greenhouse Assembly on Tiles
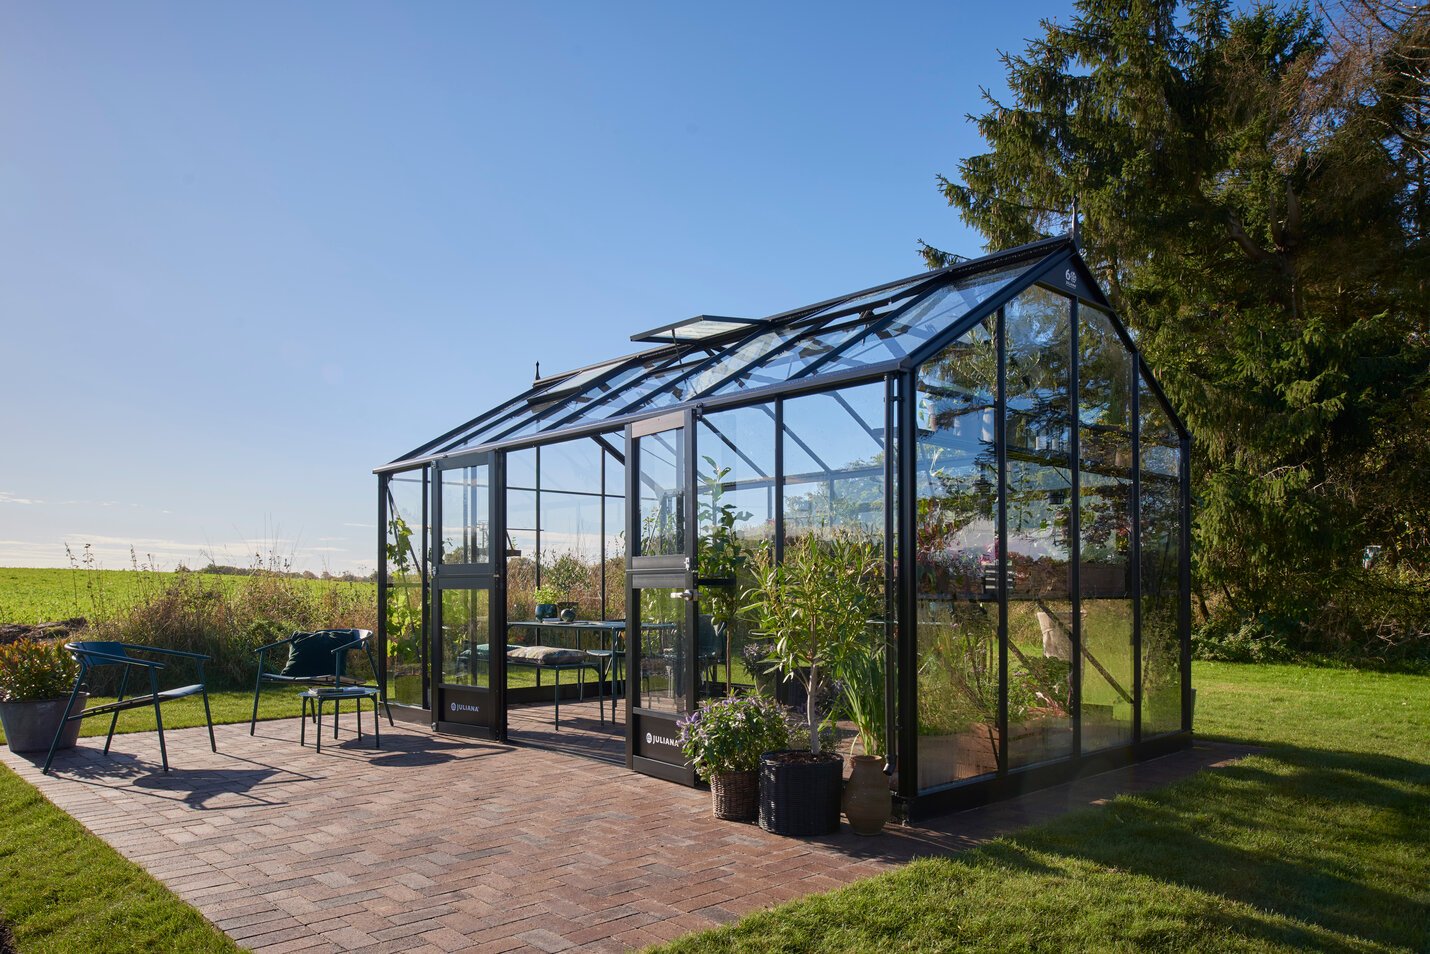
If you have an existing tile surface where the greenhouse will be placed, it's crucial that there are no drainage slopes. If there are drainage slopes, there will be a gap between the foundation and the tiles, which you'll need to fix yourself with finishing and supporting.
The foundation can be installed in two ways:
Either by embedding it (recommended) or by directly attaching it to the existing tile surface.
- For tiles up to a maximum size of 40x40 cm, the assemblers remove the necessary tiles and embed the foundation. Afterwards, you'll need to cut the tiles yourself and lay them around the embedded brackets and foundation. The assemblers do not restore the tiles.
- For direct attachment to existing tile surfaces, the foundation is screwed into the tiles.
NB! It's not possible to screw into ceramics.
This will be arranged with the assemblers upon arrival.

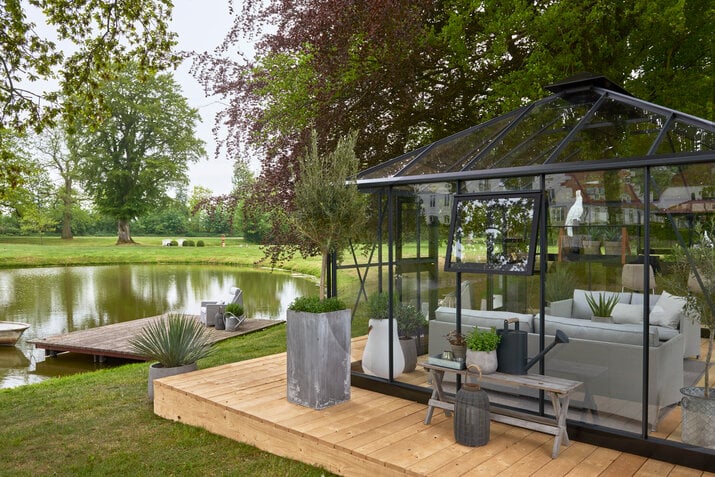
Wooden Terrace
If you want your greenhouse placed on a wooden terrace, you should first contact your insurance company to clarify what they cover. Regarding the actual installation on the wooden terrace, the right approach is to create a wooden frame that matches the greenhouse's foundation/measurement.
Under the terrace boards, this frame must be securely fastened to the wooden battens that are embedded. The terrace boards themselves will not be able to support the greenhouse, so if you simply bolt the greenhouse foundation to the boards, the greenhouse will not be securely anchored.
Greenhouse on a Wall
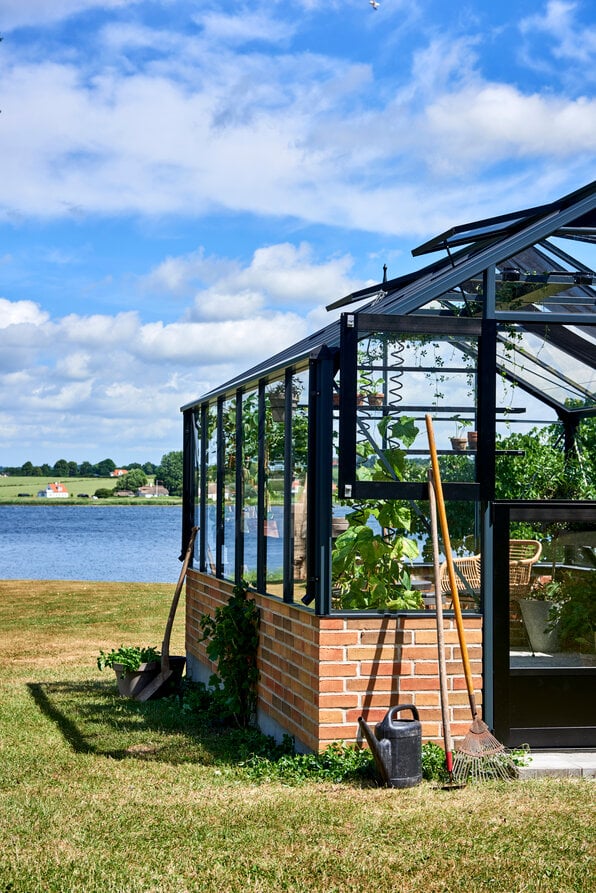
When installing on a wall, there are several options: Either a brick wall or Juliana's foundation solution for a high base.
If it's a brick wall, you must ensure that the wall is prepared and meets the measurements specified in the assembly guide.
If you purchase greenhouse assembly with the foundation solution for a high base, the same principles apply as described for other surfaces: the surface must be level and plumb.

JULIANA GROUP
Juliana Group is a leading global supplier of quality residential greenhouses. Founded in 1963 by Mogens A. Stærmose in Odense, Denmark, the family-owned company is today run by third generation, Nikolaj Stærmose. Headquarter and production remains Odense-based with subsidiaries in the UK and Germany and export to more than 20 countries.
’We help people grow’. That is why our brands Halls and Juliana set the frame for experiences that are as natural as they are magical. Despite our long history, we’re future-focused and curious on how we can improve the sustainability of our greenhouses. Learn more about Juliana and find inspiration for life in the greenhouse in our inspirational universe.


